
DOUBLE THANK YOU!
Here’s an extra THANK YOU for purchasing two of our enclosure sets! This set of instructions uses the parts from one Standard Build and adds the extra Standard Parts (such as the extra DOOR KNOB, PLUGS, and MIDDLE SUPPORT pieces) to create the Daisy Chain (DC) enclosure.
As with the Standard Build, you can customize however you would like. However, please DO NOT print another full set of the Standard Build because there are special pieces for the DC build (mainly concentrated in the center of the enclosure).
We’ve also created a DC Build set of prints in the download folder if you’d like to build the model shown above.
PLEASE PRINT & REVIEW THE STANDARD BUILD FIRST
The DC Expansion is IN ADDITION to the prints present in the Standard Build - if you have not printed the Standard Build yet, please print those parts first!
2 - Daisy-Chain (DC) Expansion
Similar to the Standard Build for a single enclosure, we created a "default" set of prints for the DC Expansion.
You can make adjustments to your expansion with any of the interchangeable parts mentioned below if you wish.
DC EXPANSION PRINTS
2 - Daisy-Chain (DC) Expansion -> 1 - DC PRINTS 1-4 -> [print files]
The DC Expansion consists of 4 sets of prints. If you print the 4 print sets, you will be able to assemble the expansion (again, you need to print the Standard Build as well if you haven't done so already). We have created a DC Expansion Print List of all of the required parts for the DC Expansion. All parts that are made specifically for the DC Expansion begin with "DC" in the filename.
The DC Print # corresponds to what print set each part is located in so that you can easily find the part in the folder in case you have a print failure or want to exchange a part for one of the variations available.
Collapsible content
DC EXPANSION PRINT LIST
DC Expansion Build Print List
|
DC Print #
|
File
|
Quantity
|
Required?
|
Variations?
|
|
1
|
Doorknob set
|
1
|
Yes
|
No
|
|
1
|
DC Joining Bracket
|
4
|
Yes
|
No
|
|
1
|
Filament Hole Plug
|
0 to 21
|
No
|
No
|
|
1
|
Top Middle Support
|
2
|
Yes
|
Yes
|
|
2
|
DC Hex Cross Support with No Holes
|
2
|
Yes
|
Yes
|
|
2
|
DC Hole Cross with No Holes
|
2
|
Yes
|
Yes
|
|
3
|
DC Top Corner Support Version A
|
1
|
Yes
|
No
|
|
3
|
DC Top Corner Support Version B
|
1
|
Yes
|
No
|
|
4
|
DC Top Corner Support Hex |
2
|
Yes
|
No
|
|
4
|
DC Top Corner set |
2
|
Yes
|
Yes
|
| 4 | DC Feet set | 2 | Yes | Yes |
|
***Be sure to print 1 piece of both DC Top Corner Version A and DC Top Corner Version B because they are not the same part.*** |
||||
DC BUILD PART OPTIONS
Collapsible content
DC FOOT SELECTION
DC Foot Selection
As with the Standard Build, we have multiple parts to choose from based on your needs. 1 DC SOLID FOOT and 1 DC CHANNEL FOOT is included in the DC Print Set.

DC HOLE FOOT has multiple inserts for various use cases. You may want to plug the hole partially (ARC INSERT) or entirely (SOLID INSERT). You can also run various wire combinations (RIGHT, LEFT, and DOUBLE CORD INSERTS).

If you would prefer to use a DC CHANNEL FOOT, you can add various configurations to this setup as well. There’s a STANDARD size for larger wires or power cords and a LOW size for if you only need to run small cords outside of your enclosure. We recommend cutting the RUBBER PAD to size for the DC CHANNEL FOOT and the INSERT as shown below.


DC TOP CORNER SELECTION
DC Top Corner Selection
As with the feet, there are different version of the DC TOP CORNER. We’ve included 1 DC TOP CORNER print and 1 DC HOLE TOP CORNER print in the DC Print Set.

The DC SOLID TOP CORNER (above) is the standard corner piece for the DC Enclosure, perfect if you do not need to hold tools, run wires, or add additional ventilation to your enclosure. If you would like to run cables through the top corner or hold tools, use the DC HOLE TOP CORNER (below). There are 3 inserts available if you need to modify your setup later.

DC TOP CORNER SUPPORT SELECTION
For the DC CORNER SUPPORTS, you will notice that there are A and B versions. You will need 1 of each version (A and B) as the holes for the nuts and bolts are different. You will also need to print 2 TOP SUPPORT HEX pieces for the other 2 pieces that attach to the center of the enclosure. The reason for this is that due to the increased thickness created by combining the two pieces of plexiglass, we had to create a more secure way to anchor everything together. All of these parts are part of the DC Standard Build folder.
Notice how the cut-outs for the nuts are in different locations.

DC CROSS SUPPORTS SELECTION
DC Cross Supports Selection
As with the CORNER SUPPORTS, the CROSS SUPPORTS will require only a NUT and BOLT. You will need 2 DC HEX CROSS SUPPORTS and 2 DC CROSS SUPPORTS. You can choose to use a HOLE version if you like to anchor the cross member.

DC EXPANSION ASSEMBLY
This build is similar to the original build in many ways. We recommend briefly skimming through this section in order to have an idea of how much you need to disassemble your current enclosure if you’re adding onto a single unit.
You will reuse the sides of the enclosure, so there is no need to disassemble those parts completely.
Collapsible content
DC MIDDLE ASSEMBLY
DC Middle Assembly
After printing the DC parts, begin by assembling the center plexiglass wall by combining 2 sheets of plexiglass using 2 WASHERS, 1 BOLT, and 1 NUT for each side hole at all 4 hole locations.
*Occasionally there are small variations in plexiglass cuts that create imperfections in the hole alignment which prevents this step from occurring. That is OKAY! As long as the other pieces fit together, the enclosure will be sturdy even without these extra screws. You can try to mix and match the side sheets as the two that are packaged together typically have similar cuts if your initial attempt isn’t successful. The variations are usually very small, so the majority of the pieces should fit together without any issues.

DC CROSS SUPPORT ASSEMBLY
DC Cross Support Assembly
Using 2 DC HEX CROSS SUPPORTS and 2 DC CROSS SUPPORTS, add these to the center wall. There should be NO WASHERS used during this part of the build. You will need to use the included Allen wrench to tighten the bolts as the hole is recessed.
To make following the rest of the guide easier, make the side with the DC HEX CROSS SUPPORTS (the side with the nuts) the HEX SIDE of the center wall. This will be important during the next step. The other side with the round bolt heads will be the ROUND SIDE.

DC TOP SUPPORT ASSEMBLY
DC Top Support Assembly
Now we’ll add the top supports to the center wall. As mentioned above, locate the HEX SIDE of the wall. Both of the TOP SUPPORT HEX will go on this side. On the other side of the wall, you will use a DC SUPPORT A or DC SUPPORT B as the top support.


DC FEET ASSEMBLY
DC Feet Assembly
Assemble the front and back DC FEET to the center wall. Make sure you have applied the rubber pads to the bottom of the feet prior to adding them to the enclosure!

DC REAR ASSEMBLY
DC Rear Assembly
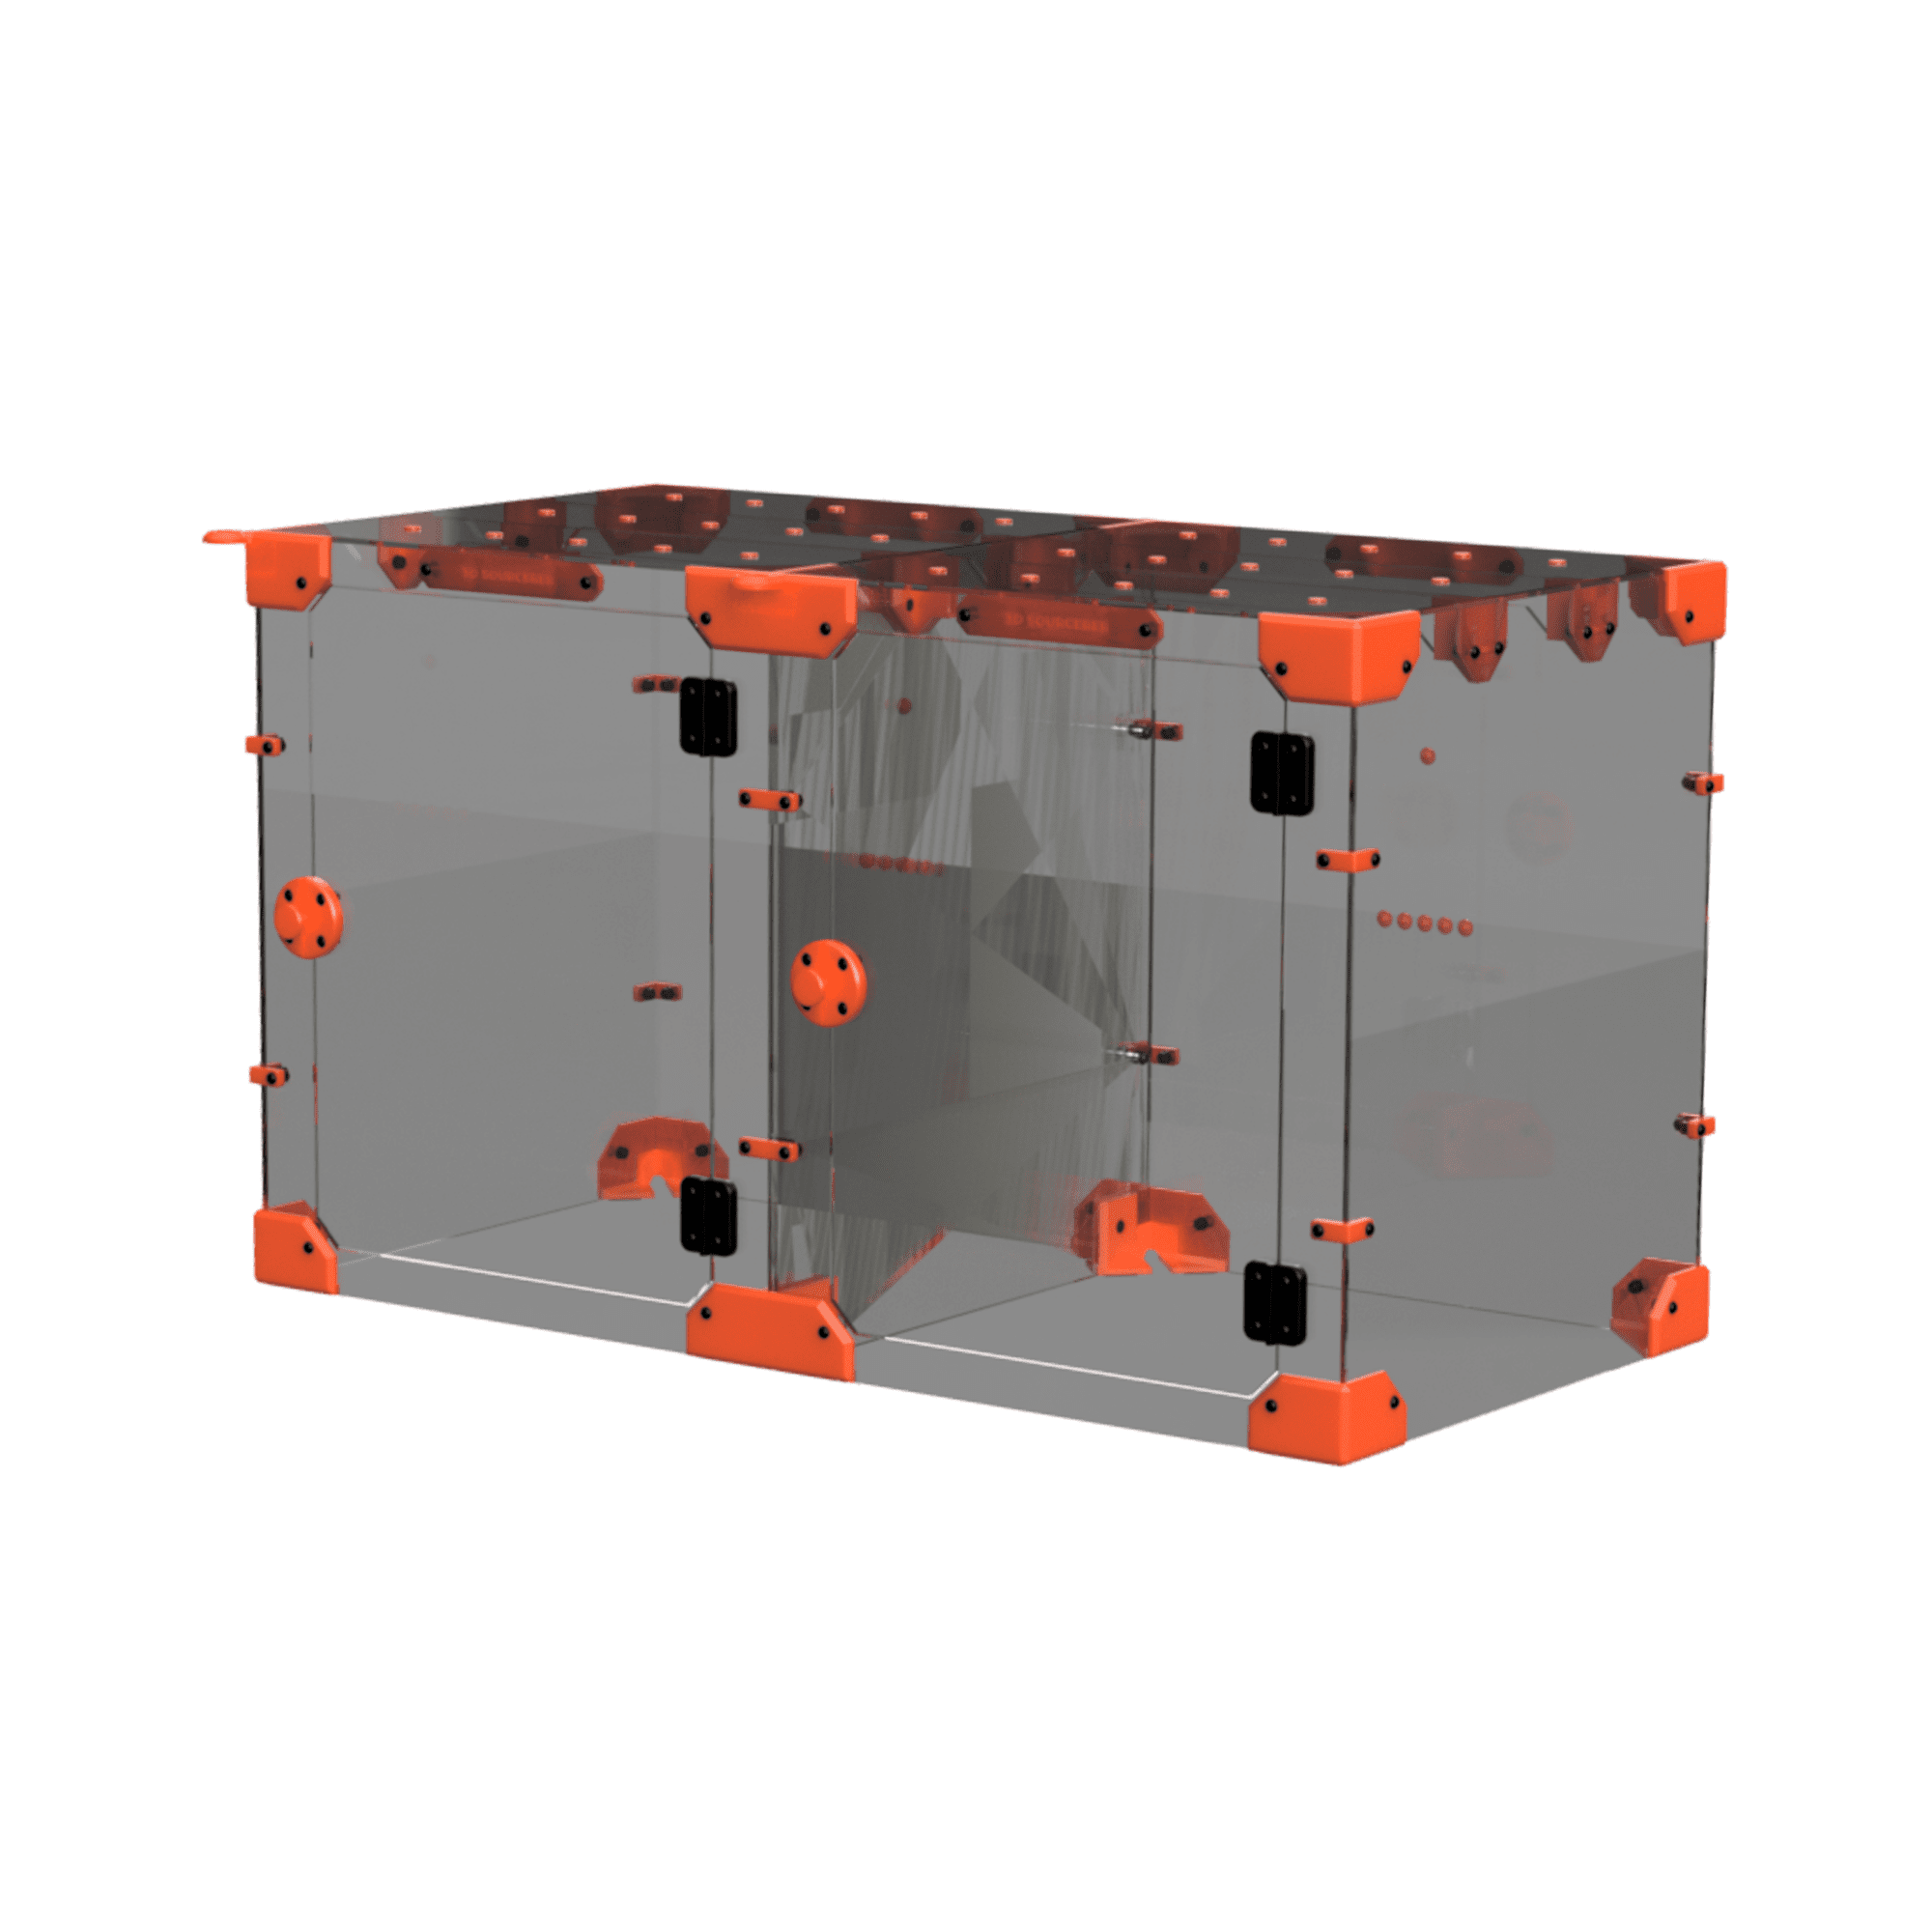
Now we will begin to put everything together. Since the enclosure is about to become very heavy, we suggest that you assemble it in the place where you want to leave the enclosure. Begin by assembling the side pieces just as you would in the Standard Build (non-DC version); you should have the majority of these pieces assembled already if you are adding to a Standard Build. We advise you to have the enclosure arranged in a manner similar to the image below before combining it with the center wall.

After moving the pieces into place, add the nuts, bolts, and washers to the DC FEET as shown below.

PRO TIP: If you’re having issues reaching the nut on the inside of the enclosure for the DC FEET, try sliding the edge of the enclosure ever so slightly off the edge of a table so that you can reach your wrench inside to hold the nut in place. This works best when you have the sides of the enclosure already attached as shown above. Be careful not to bend the plexiglass.

Next, add the DC SOLID CORNER (or equivalent piece) to the top rear of the enclosure. You will only use a bolt and a nut for this assembly.

DC FRONT ASSEMBLY
DC Front Assembly
Now, repeat the same process for the front assembly. If the door is already attached to the frame, be careful to prevent it from swinging freely and potentially cracking the frame. Your assembly should now look almost complete!

DC JOINT ASSEMBLY & FINISHING TOUCHES
DC Joint Assembly & Finishing Touches
You can now add the remainder of the pieces to the enclosure such as the DC JOINTS and any of the front or back support pieces that may be missing.


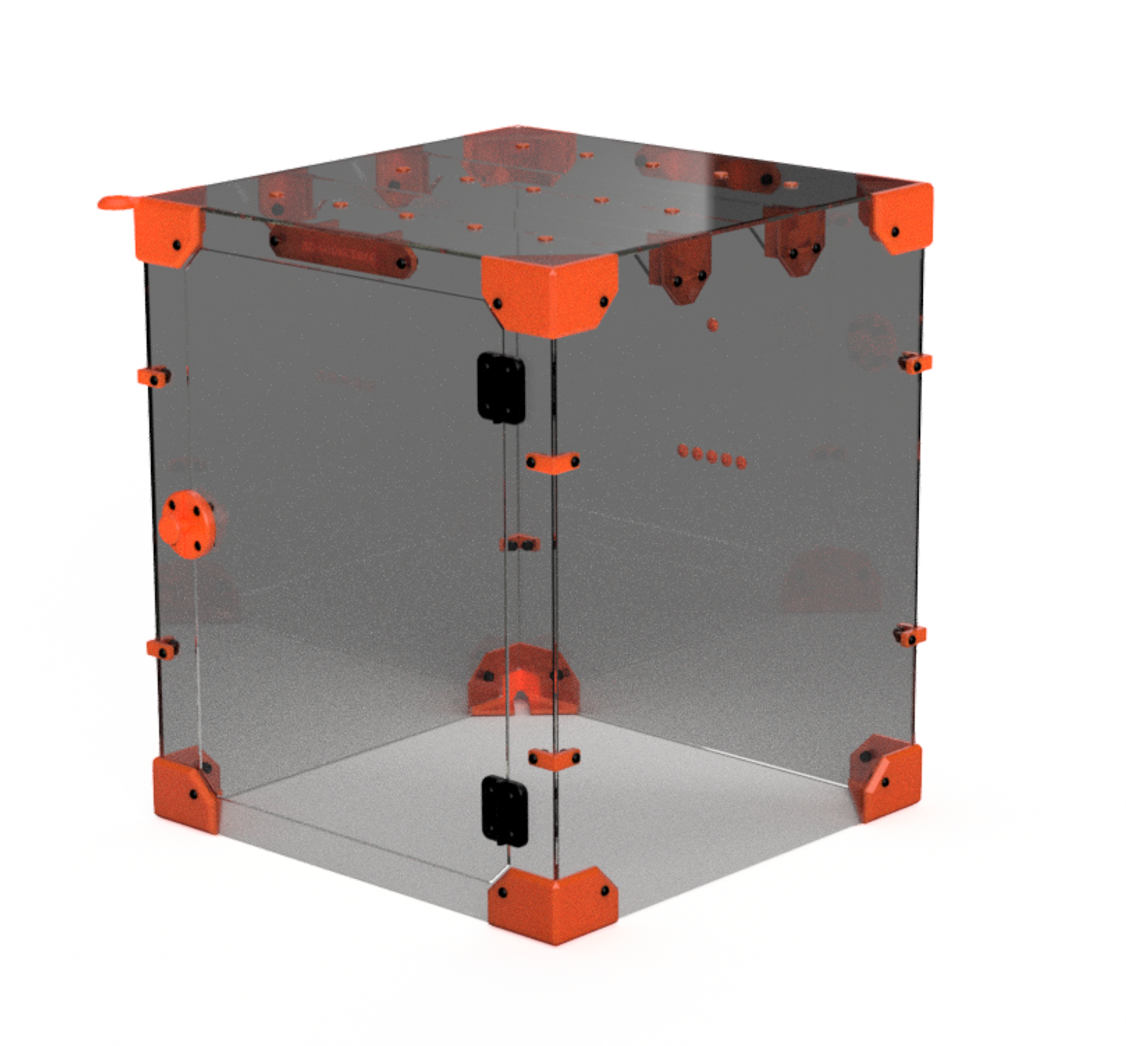
DC FINAL ASSEMBLY
DC Final Assembly
Add the tops and plugs where you’d like and you’re done!

THE ENCLOSURE MADE FOR YOU
UNIVERSAL 3D PRINTER ENCLOSURE
Modular, customizable, and expandable - this 3D printer enclosure was made to adapt to your needs.
MAKE IT YOUR OWN
UNIVERSAL ENCLOSURE ACCESSORY PRINTS
With a wide range of accessory prints, there's something here for just about any 3D printer setup.